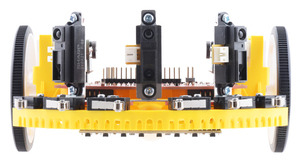
Sharp Distance Sensor Kit for Romi/TI-RSLK MAX
Product information "Sharp Distance Sensor Kit for Romi/TI-RSLK MAX"
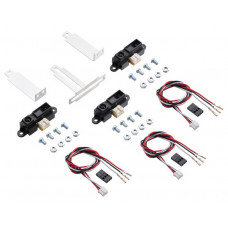
This upgrade kit for the Romi/TI-RSLK MAX lets you add obstacle detection and ranging to your Romi/TI-RSLK MAX robot. It consists of three Sharp GP2Y0A21YK0F Analog Distance Sensors, which have a detection range of 4″ to 32″ (10 cm to 80 cm), cables for connecting them to your electronics, and brackets for mounting them to your robot.
Kit contents
- Three 3-Pin Female JST PH-Style Cable (30 cm) with Female Pins for 0.1″ Housings
- Three 1×3 Crimp Connector Housings)
- Two perpendicular brackets for Sharp GP2Y0A21 distance sensors
- One multi-option bracket for Sharp GP2Y0A21 distance sensors
- Twelve 5 mm M3 screws
- Twelve M3 hex nuts
Assembly
The first step is making sure male 0.1″ header pins are soldered to the appropriate spots on the TI-RSLK Chassis Board v1.0. This is where you will plug in the 0.1″-pitch ends of the included cables. We generally recommend you remove the Chassis Board from the Romi Chassis before soldering these headers.
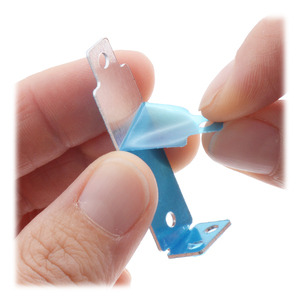
The next step is installing the brackets. Please note that these brackets might ship with a protective blue film on them that can optionally be peeled off:
 |
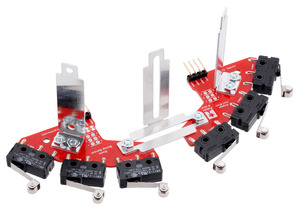
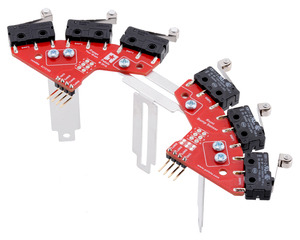
The included brackets are intended to mount to the TI-RSLK MAX’s bumper switch assemblies using six sets of the included M3 screws and nuts. The bumper switch assemblies have silkscreen outlines showing where the brackets should go. The brackets should be oriented with the vertical portions positioned farther away from the bump switches, which will let you mount the Sharp distance sensors farther back from the front of the chassis. The brackets must be installed to the bumper switch assemblies before the bumper switches are installed on the Romi chassis:
|
|
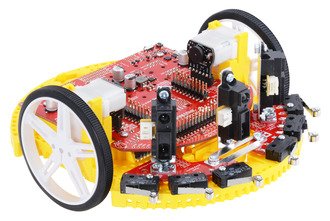
We recommend inserting the screws from the bottom side and using the nuts on the top side. Once the brackets are installed as shown above, the next step is mounting the Sharp distance sensors to the brackets using six more sets of the included M3 screws and nuts. Finally, mount the bumper switch assemblies to the Romi chassis (you can find instructions for this on the bumper switch assembly pages).
|
|
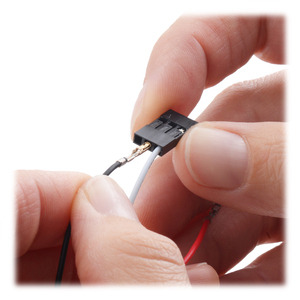
This kit includes a cable for use with each Sharp distance sensor. One side is terminated with a white connector that works with the connector on the Sharp distance sensor. The other side has three separate pre-crimped wires that can snap into the included black 3×1 housings or into any of our other crimp connector housings. If you use the 3×1 housing, be sure to put the black wire (ground) into the middle socket! The bulging portion of the crimp pin should face the side of the housing with the openings, and you should hear a “click” when the pin is fully inserted.
 |
Enter the code in the box below:
