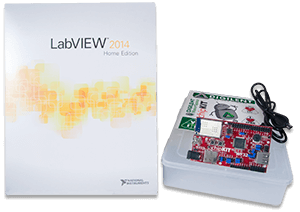
LabVIEW Physical Computing Kit with chipKIT WF32
The LabVIEW Physical Computing Kit includes the 32-bit version of LabVIEW Home and is compatible with Windows 10/8.1/8/7/Vista/XP (32-bit and 64-bit). Not compatible with OS X.
LabVIEW is a graphical programming platform used for data acquisition & analysis, instrument control, prototyping and more. LabVIEW Home Bundle has made this powerful software affordable for makers and students. But what if you want to connect your LabVIEW projects to the physical world?
That's why we've created the Physical Computing Kit. This kit, combined with LabVIEW Home Bundle, gives you an inexpensive yet versatile way to connect to the outside world.
 |
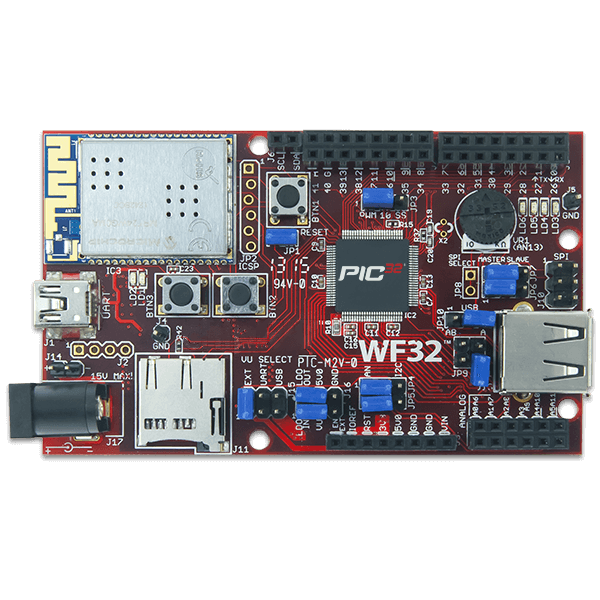
What's in the kit? The Physical Computing Kit comes with: We selected the WF32 because of its extensive onboard capabilities. It has a WiFi module that lets you communicate with a world of wireless devices, a Micro SD card slot for reading & storing large amounts of data, and a USB 2.0 controller for power, configuration, and your own USB applications. But that's just the beginning, because you'll also have access to the WF32's 43 available I/O pins. Connect whatever sensors, displays, controls, peripherals, etc. you like and LabVIEW Home will be able to use them. |
|
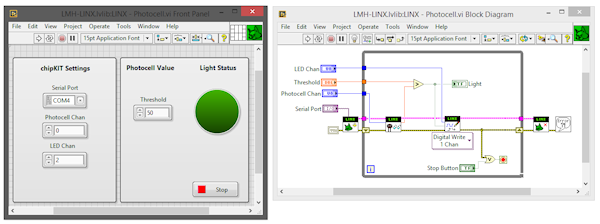
Experiment without Breadboarding Suppose you wanted to take measure ambient light with a photocell, then turn another light on when the sensor reading drops below a certain threshold. (Commonly known as a 'dusk-to-dawn' circuit.) |
 |
|
With just the chipKIT WF32, you'll have a WiFi module, a Micro SD card slot, USB 2.0, a potentiometer, and 4 LEDs all at your disposal. |
You'll also be able to quickly create your own graphical user interfaces. Does your project need switches, buttons, dials, numeric displays, or more? You'll be able to choose from hundreds of controls, graphs, and 3D visualization tools, then simply drag-and-drop them into place.

In LabVIEW, you can design your project's block diagram & graphical interface, all at once.
Now, imagine you want to expand your design. For instance, maybe you want to add a high / low temperature range or a digital temperature display. On a breadboard, it would mean adding parts, rewiring, testing, etc. In LabVIEW, experimentation like this is much, much more efficient.
Need help getting started?
You'll find a growing collection of tutorials and examples at LabVIEW MakerHub, including:
- A tutorial series for users new to LabVIEW and its interface
- A tutorial series specifically for the Physical Computing Kit
These tutorials can walk you through an introduction to the LabVIEW interface, programming examples, setting up your WF32 for connection, connecting to I/O, datalogging, and WiFi connectivity.
Product Videos
Enter the code in the box below:


